You have a background color and the color of your line, an antialiased line has additional lines drawn on either side of the first that are simply part way between the color and brightness of your origonal line and the background.
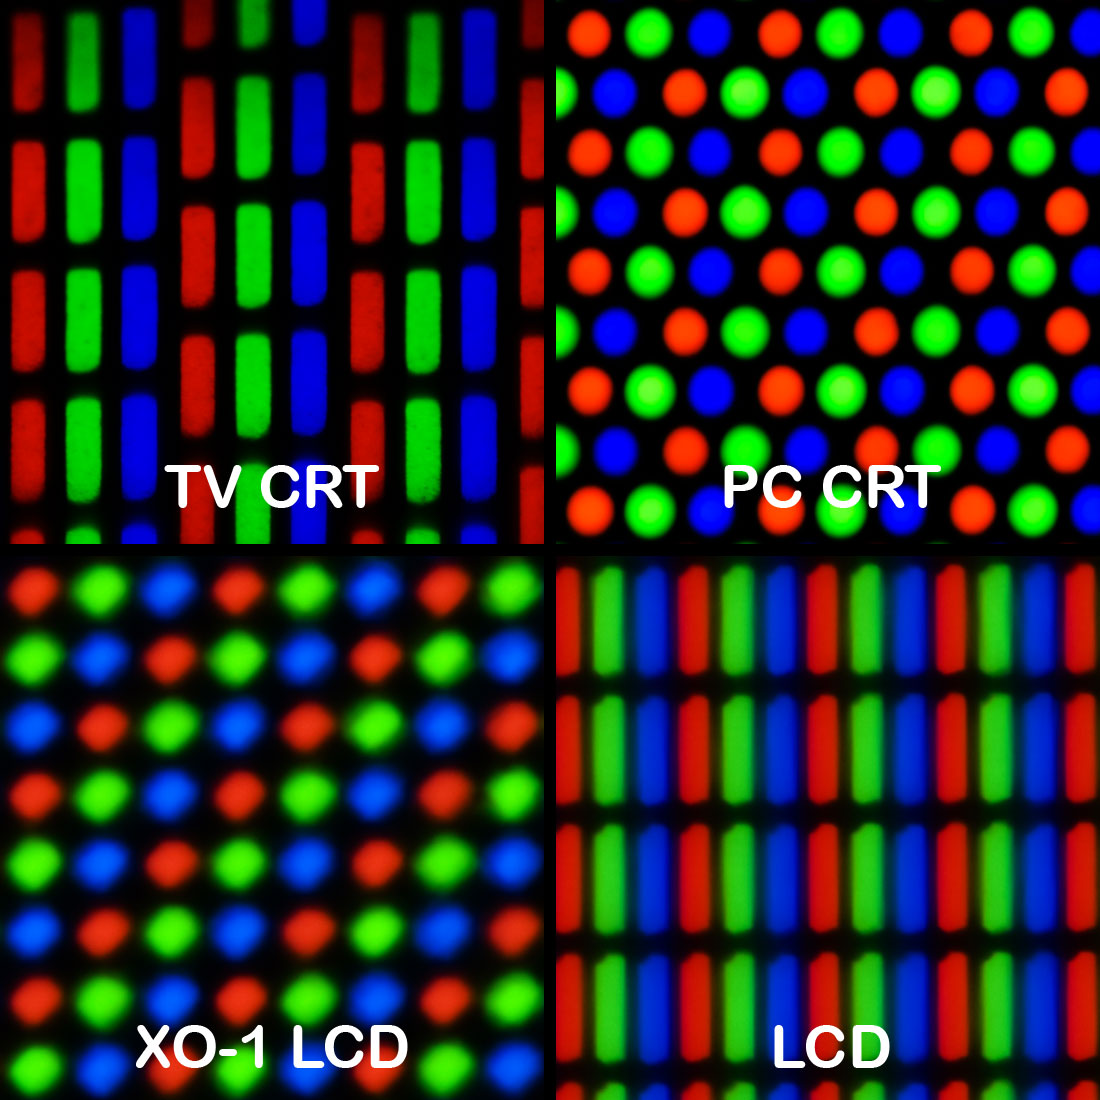
If the line you are drawing is horizontal or vertical the additional antialiasing lines (however many, depending upon the intended resulting line thickness) should be closer in color and brightness to the intended color - there is absolutely minimal antialiasing on such lines, that there is a tiny amount is due to offset subpixel rendering on some but not all matrixes.
This shows the difficulty:

When the lines are not horizontal or vertical it gets more complicated ...
If the additional lines drawn on each side of your line are drawn:
with color and brightness more closely matching the background's color then your line remains sharper and the background color near your line is fuzzier.
or
with color and brightness more closely matching your line's color then your line becomes fuzzier (wider) and the background color near your line remains sharper.
That means that if you intend to draw a thin line, a single pixel wide line, you would use the first option. (Make the result skinny).
If you want a two pixel wide line you would choose the second option but weigh the color of the background more towards the background's color and brightness. (Make the result not as skinny as a single line, with each of the two additional lines forming almost ~50% of the total width).
If you want a three pixel wide line you still use the second option but would instead weigh the color of the background more towards the line's color and brightness. (Make the result clearly much fatter than a single line).
For a four pixel wide line go back to the first method where you draw two lines of the intended color and brightness surrounded by two lines using the second method, making the two lines wider. (Sort of a blending of the first and second methods)
For five pixel wide lines the center is exactly your intended color, the two nearest surrounding line are very close to the color and brightness of the center line, with the outer two fairly close to the color of the center line (but less than the ones immediately next to the center line)
For a six pixel wide line there are two central lines of the intended drawing color and brightness, surrounded by two very similar lines, surrounded by another two less similar to the central two's color and brightness; but still very different from (lighter or darker) than the background color.
A seven pixel line or greater follows number 5 or 6 above.
The weighing of the additional lines more towards the intended color gives a sharper line, if you thought of it from a sideview analogy it would be top hat shaped. If you weighed additional lines more towards the background color the (impossible) sideview analogy is that the profile of the 2D line would be rounded or triangular. If you are drawing 2D shapes it is in your interest to weigh towards the intended color. If you are rendering a 3D shape on a 2D screen then favoring the background color blends towards subsequent lines of a different Z depth.
A simplistic but effective algorithm with good speed is the Xiaolin Wu improvement to Bresenham's line drawing algorithm to implement antialiasing.
// Pascal
function plot(x, y, c) is
    plot the pixel at (x, y) with brightness c (where 0 ≤ c ≤ 1)

// integer part of x
function ipart(x) is
    return floor(x)

function round(x) is
    return ipart(x + 0.5)

// fractional part of x
function fpart(x) is
    return x - floor(x)

function rfpart(x) is
    return 1 - fpart(x)

function drawLine(x0,y0,x1,y1) is
    boolean steep := abs(y1 - y0) > abs(x1 - x0)

    if steep then
        swap(x0, y0)
        swap(x1, y1)
    end if
    if x0 > x1 then
        swap(x0, x1)
        swap(y0, y1)
    end if

    dx := x1 - x0
    dy := y1 - y0
    gradient := dy / dx
    if dx == 0.0 then
        gradient := 1.0
    end if

    // handle first endpoint
    xend := round(x0)
    yend := y0 + gradient * (xend - x0)
    xgap := rfpart(x0 + 0.5)
    xpxl1 := xend // this will be used in the main loop
    ypxl1 := ipart(yend)
    if steep then
        plot(ypxl1,   xpxl1, rfpart(yend) * xgap)
        plot(ypxl1+1, xpxl1,  fpart(yend) * xgap)
    else
        plot(xpxl1, ypxl1  , rfpart(yend) * xgap)
        plot(xpxl1, ypxl1+1,  fpart(yend) * xgap)
    end if
    intery := yend + gradient // first y-intersection for the main loop

    // handle second endpoint
    xend := round(x1)
    yend := y1 + gradient * (xend - x1)
    xgap := fpart(x1 + 0.5)
    xpxl2 := xend //this will be used in the main loop
    ypxl2 := ipart(yend)
    if steep then
        plot(ypxl2  , xpxl2, rfpart(yend) * xgap)
        plot(ypxl2+1, xpxl2,  fpart(yend) * xgap)
    else
        plot(xpxl2, ypxl2,  rfpart(yend) * xgap)
        plot(xpxl2, ypxl2+1, fpart(yend) * xgap)
    end if

    // main loop
    if steep then
        for x from xpxl1 + 1 to xpxl2 - 1 do
           begin
                plot(ipart(intery)  , x, rfpart(intery))
                plot(ipart(intery)+1, x,  fpart(intery))
                intery := intery + gradient
           end
    else
        for x from xpxl1 + 1 to xpxl2 - 1 do
           begin
                plot(x, ipart(intery),  rfpart(intery))
                plot(x, ipart(intery)+1, fpart(intery))
                intery := intery + gradient
           end
    end if
end function
